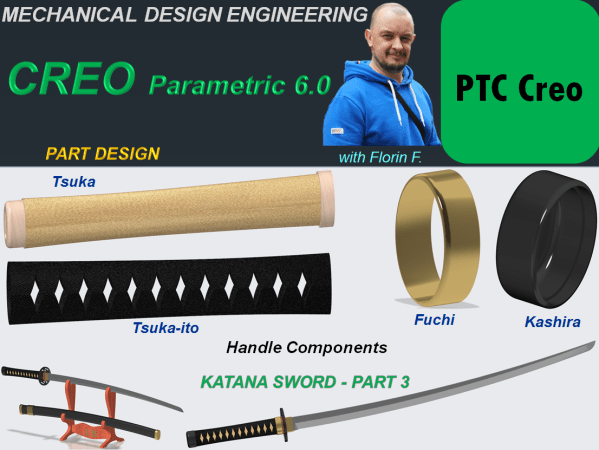
In this part I will show you how I've designed the fittings used for the product Katana Sword. The approach to be taken for this kind of product is a Top-Down design also called Relational Design Method. That's becasue all parts must fit exactly with the blade shape, therefore the Blade is used as reference... Continue Reading →
Blog Feed
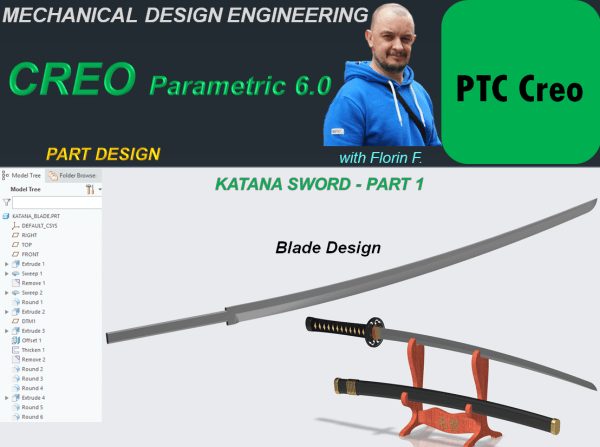
CREO PARAMETRIC 6.0 – KATANA SWORD DESIGN_Part 1 – Blade Design
Katana Swords are one of the national symbols in Japan. Their story is trully fascinating and amazing. Having observed how this swords are made I've designed a Sword concept with CREO Parametric. My design process for such object goes as follows: KATANA BLADE STEP 1. Create New Part STEP 2. In Model Workbench click on... Continue Reading →
How Air Conditioning Affects Urban Climate.
Air-conditioning systems are essentially refrigerators for air. In your car, for instance, the air-conditioning system passes the cabin air over copper tubes containing refrigerant, thus cooling the air. Cool air can’t maintain a high concentration of water, which is why water droplets form on air conditioners (this is also why clouds form as air rises... Continue Reading →
How Air Conditioning systems make a plane travel save and comfortable.
There is no better example to start a topic about cooling fluids than aircrafts. We all have today the option to travel by plane anytime and anywhere in the world. When you do that, of course maybe the only inconvenient you might have is that you must sit and keep the seat belt tighten during... Continue Reading →
CREO PARAMETRIC 6.0 – SKATEBOARD DESIGN_Part 7 – Final Assembly
THE SKATEBOARD FINAL PRODUCT STEP 1. Create New Assembly and rename it Skateboard STEP 2. In Assembly Environment click on Assemble Icon and browse for the part called "Board" in project folder. Put the constraint on it as Default and click OK. Everything added afterwards will be refered to Board part. STEP 3. Continue to... Continue Reading →
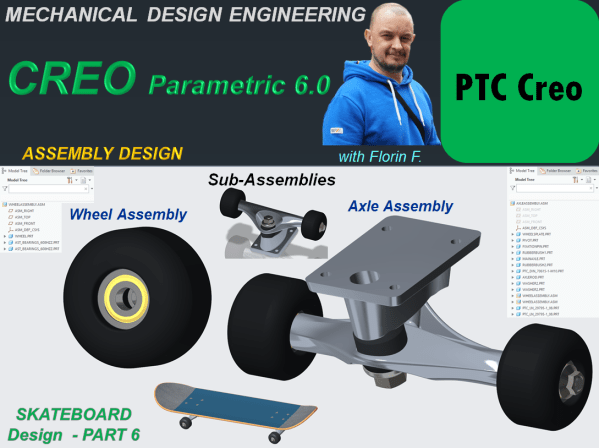
CREO PARAMETRIC 6.0 – SKATEBOARD DESIGN_Part 6 – Sub-Asseblies
To create a product you must first design the component which are later put together in the final product assembly. But when every component is ready also it makes very much sense to group some components in a sub-assembly which will be part of the final one. Therefore let's create the sub-assemblies necessary for the... Continue Reading →
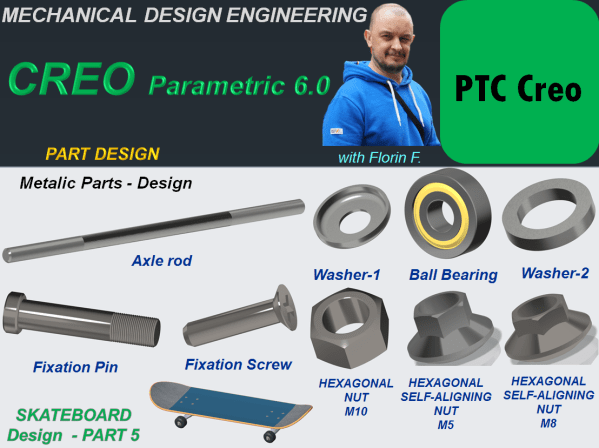
CREO PARAMETRIC 6.0 – SKATEBOARD DESIGN_Part 5 – Metalic Parts Design
An Assembly is a product made of single components joined to work together. Fixation elements are mandatory for every mechanical product to work as intended. So let's design the specific components and at the end we'll use the standard parts which are largelly available to download online. THE FIXATION PIN STEP 1. Create a New... Continue Reading →
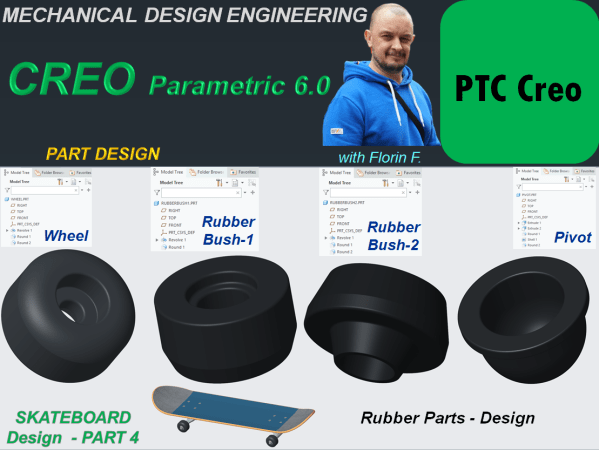
CREO PARAMETRIC 6.0 – SKATEBOARD DESIGN_Part 4 – Rubber Parts Design
THE WHEEL STEP 1. Create a New part and rename it Wheel. STEP 2. In Model Environment click on Revolve icon and on Front Plane sketch the profile as shown, then revolve it around vertical axis. STEP 3. Apply rounds: STEP 4. Add rubber appearance: The Part looks like this: THE RUBBER BUSH I STEP... Continue Reading →
CREO PARAMETRIC 6.0 – SKATEBOARD DESIGN_Part 3 – Main Axle Design
The design procedure of the Main Axle of a skateboard done with CREO Parametric goes as follows: STEP 1. Create a new Part and rename it Main Axle STEP 2. Create 2 new datum planes with an offset of 65mm from the Front Plane on each side. STEP 3. On Front Plane Create the following... Continue Reading →
CREO PARAMETRIC 6.0 – SKATEBOARD DESIGN_Part 2 – Wheels Plate Design
The plate design for wheels of a Skateboard done in CREO parametric goes as follows: STEP 1. Create a New part and rename it WheelsPlate STEP 2. Click on Extrude icon and use the Sketch option from far upper right in Extrude window to create a center rectangle of 55x80 on the Top Plane and... Continue Reading →