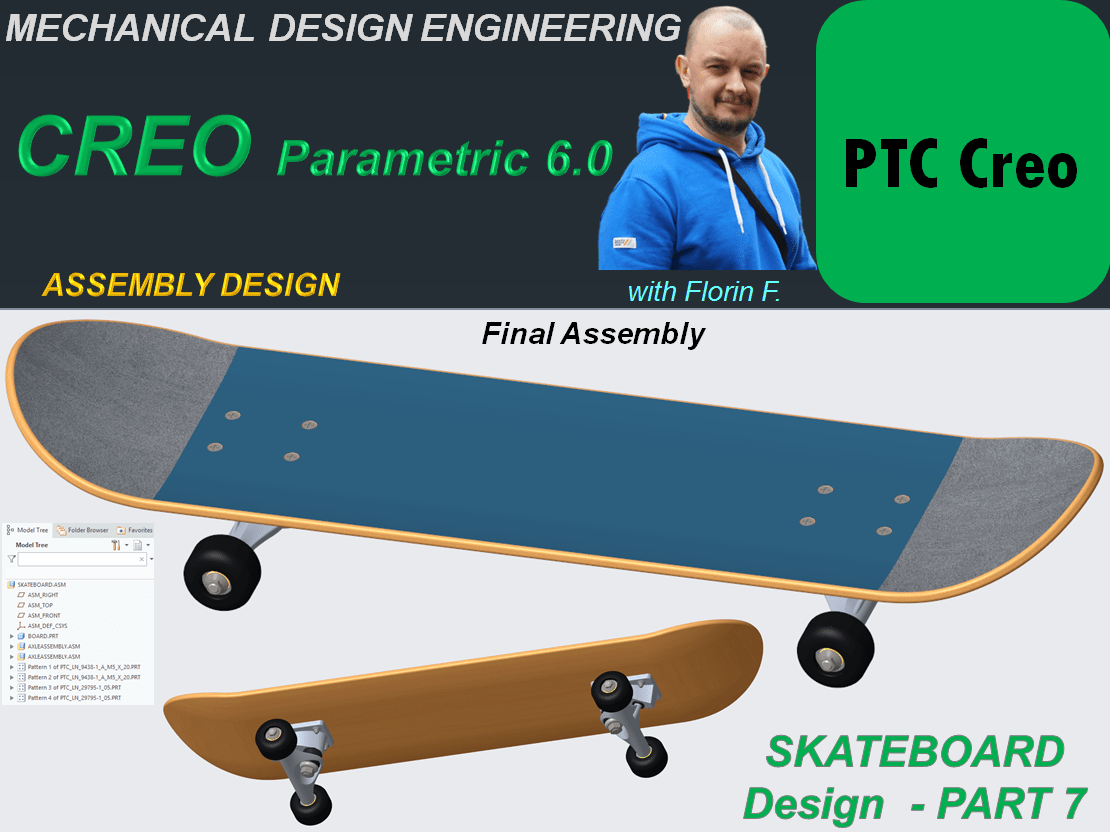
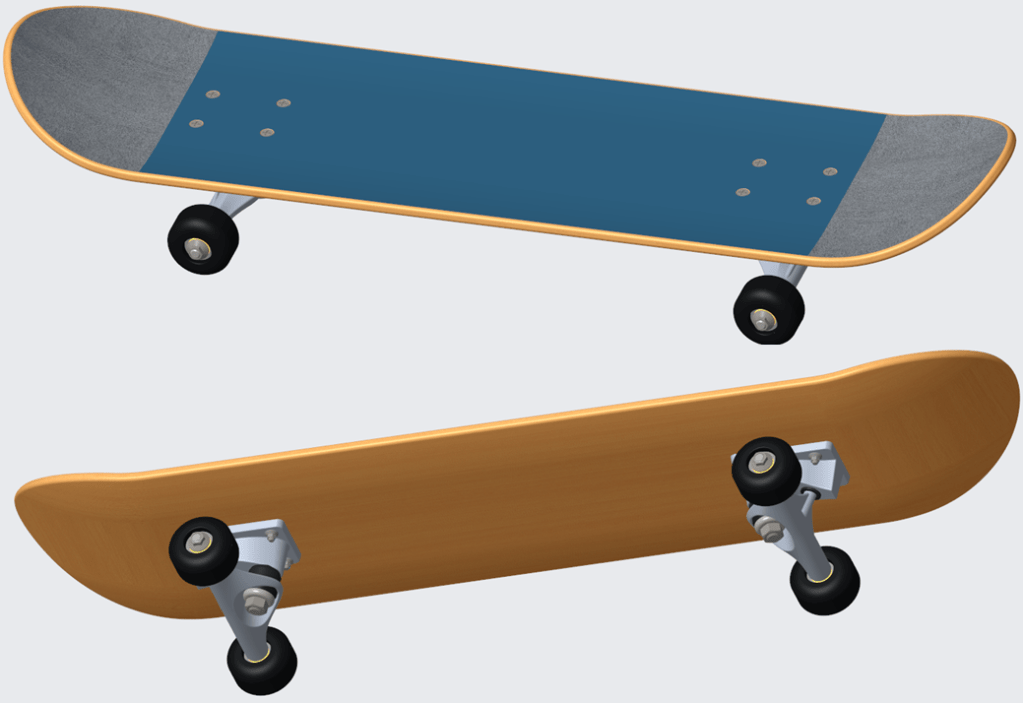
THE SKATEBOARD FINAL PRODUCT
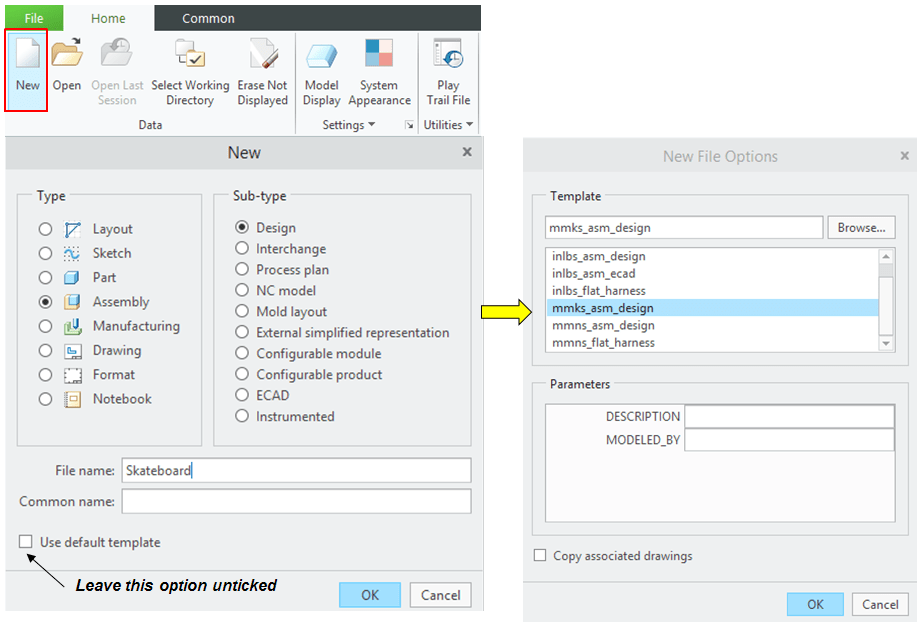
STEP 1.
Create New Assembly and rename it Skateboard
STEP 2.
In Assembly Environment click on Assemble Icon and browse for the part called “Board” in project folder.
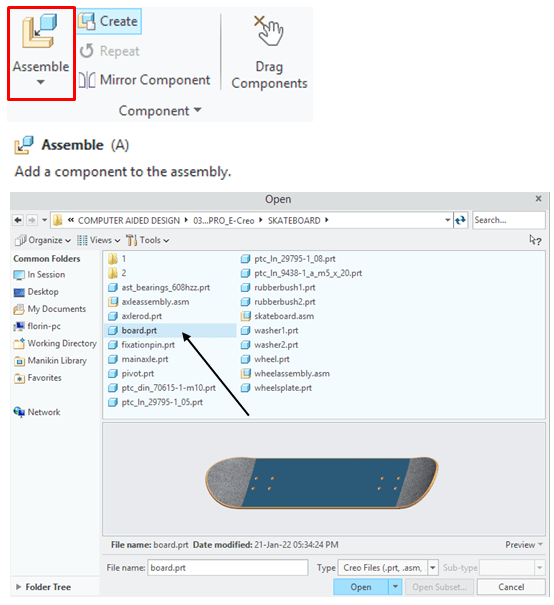
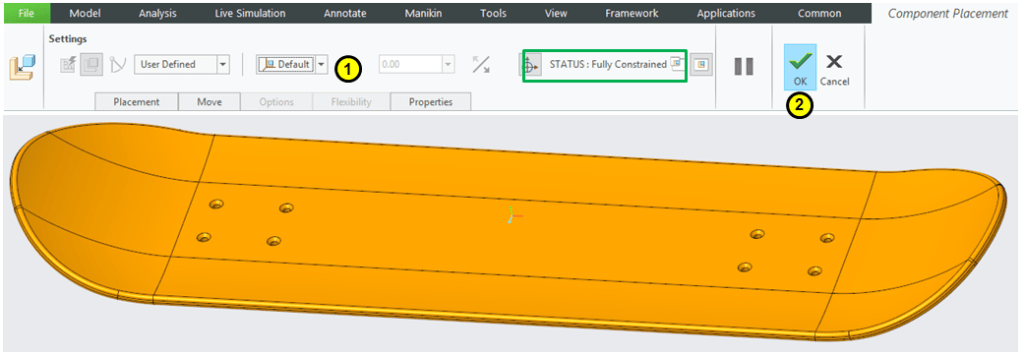
Put the constraint on it as Default and click OK. Everything added afterwards will be refered to Board part.
STEP 3.
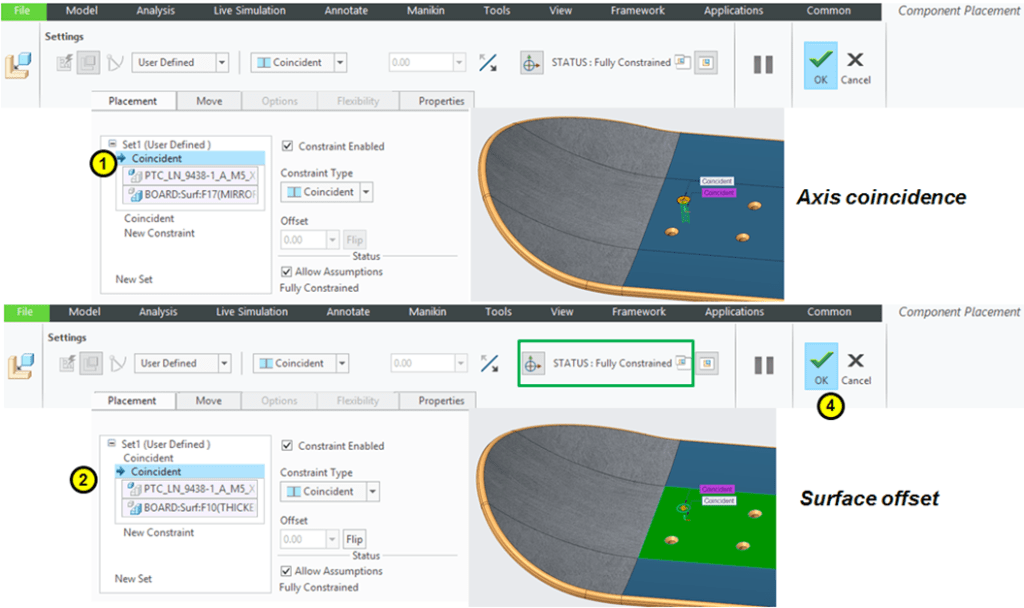
Continue to add the rest of components. Add the 1st Axle Sub-Assembly…
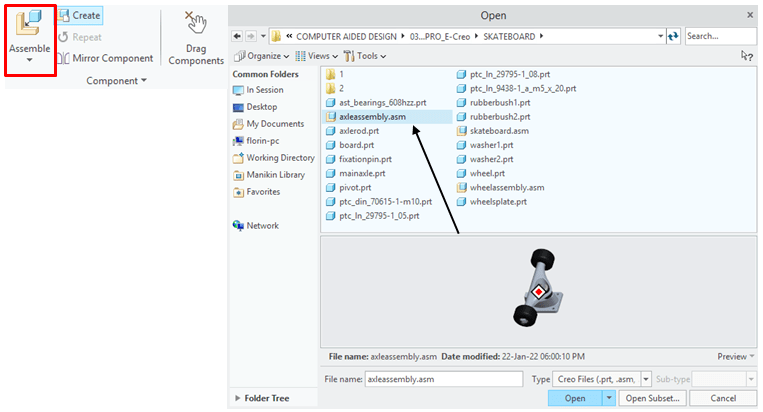
… and enter the constraints as shown:

STEP 4.
Repeate the procedure from STEP 5 to add the 2nd Axle Sub-Assembly
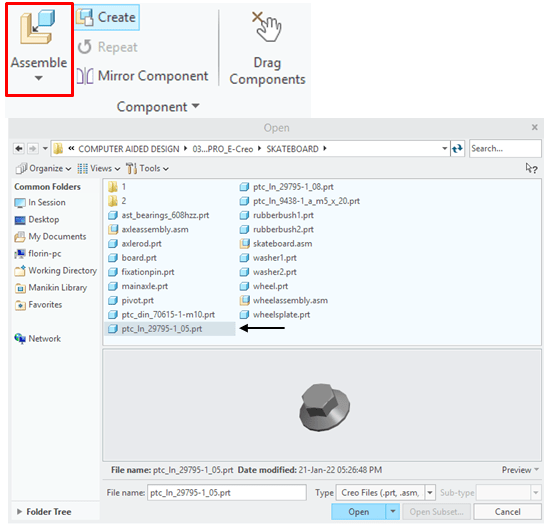
STEP 5.
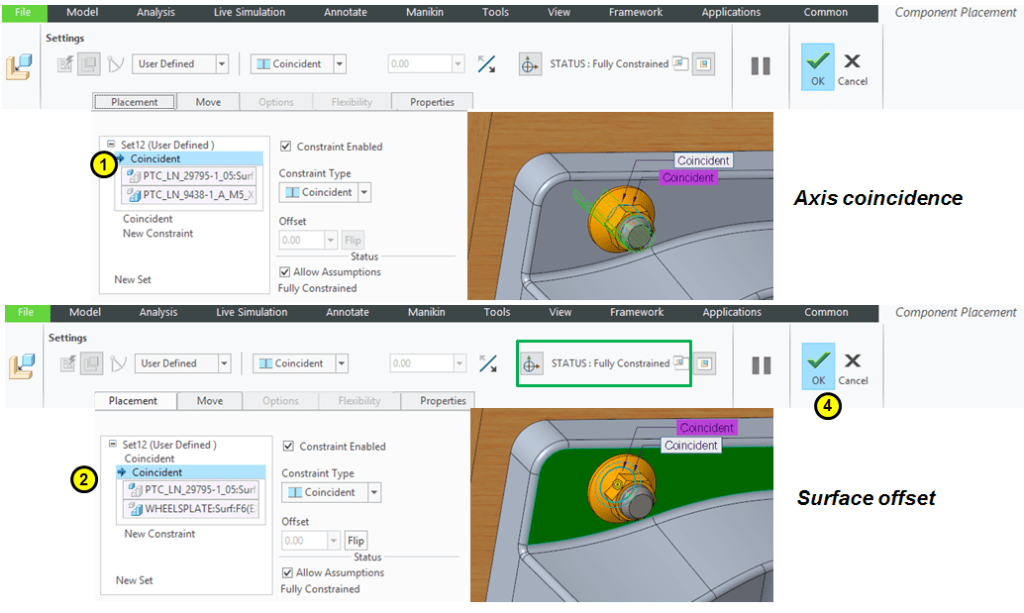
Add the 1st M5x 20 Screw…

… and enter the constraints as shown.
STEP 6.
Pattern the 1st set of 4 Screws as shown:

STEP 7.
Repeate the procedure from STEP 5 & 6 to add the 2nd 4 Set of Screws on the other Axle Sub-Assembly
STEP 8.
Add the 1st M5 Nut…
…and enter the constraints as shown.
STEP 9.
Proceed in the similar way like done for the Screws to add all the necessary M5 Nuts.
The Final Product is ready.
This assembly work is also available as video version on my YouTube channel as embedded below:

Leave a comment